Installation and Activation Guide
Installation and Data Capture
1. Connect the RS232 to the serial port of the Pace Master battery if batteries include Pace BMS equipped batteries.
2. Connect the RS485 to the COM Out port of the Tian BMS Master.
3. Connect the CAN to the inverter BMS port.
4. Power the ESPBMS device on using a DC voltage between 7V and 70V.
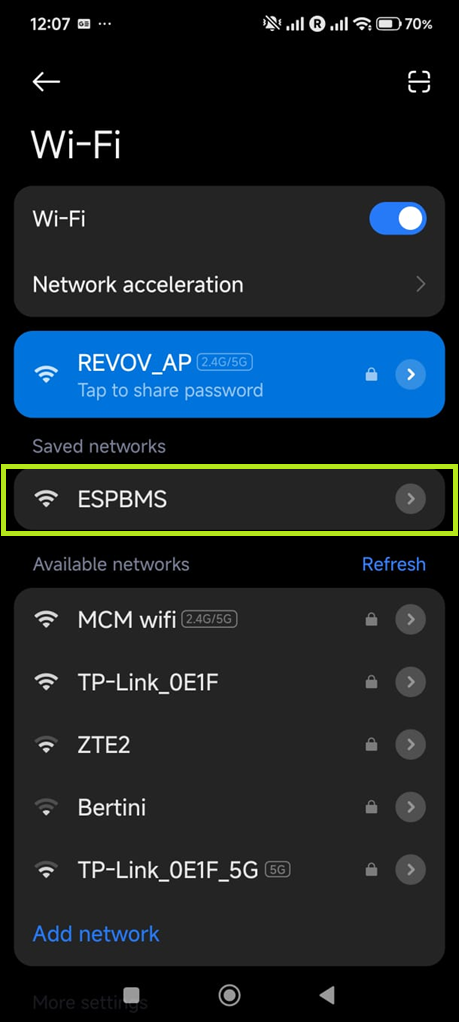
5. Wait for the ESPBMS Wi-Fi network to start. (See image 1 below)
6. Connect to the ESPBMS Wi-Fi network. (See image 1 below)
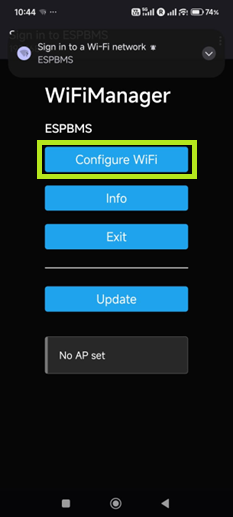
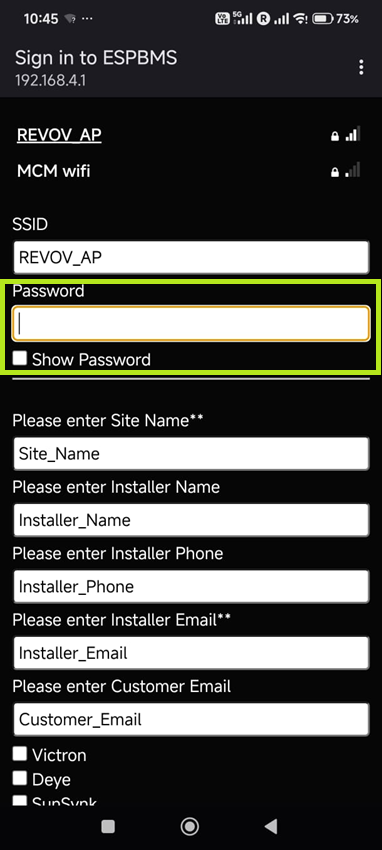
7. Select a Wi-Fi network and provide the required credentials. (See image below)
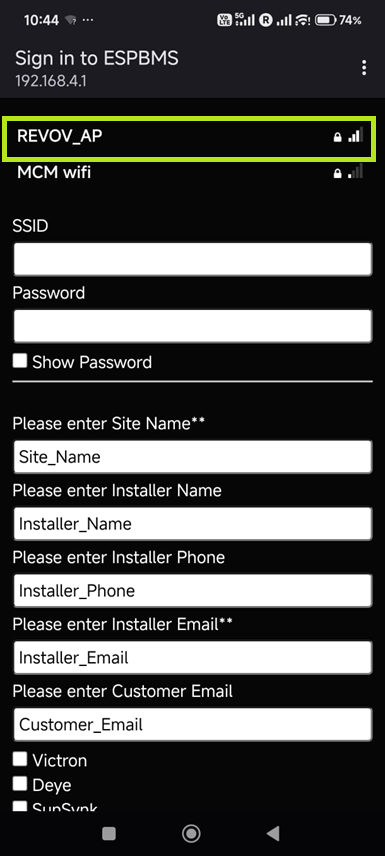
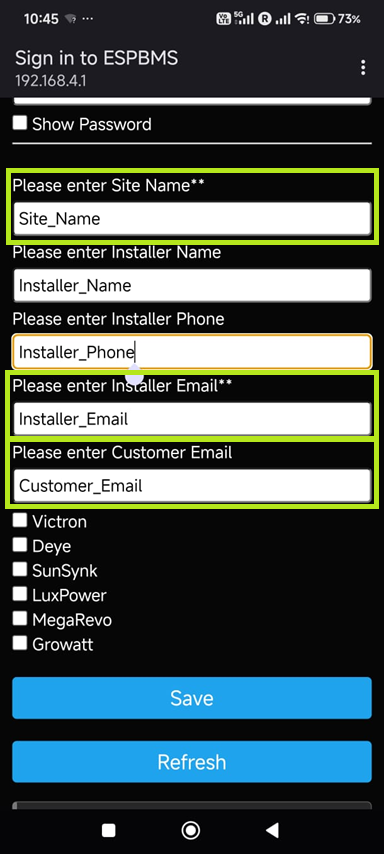
8. Complete the details on the captive portal page. (See image below)
9. The Installer and the Customer email addresses will be used to verify the user and if not completed will prevent the creation of the dashboard and the user registration on the ESPBMS webpage. The Site Name is used to identify the installed site and name the dashboard. (See image below)
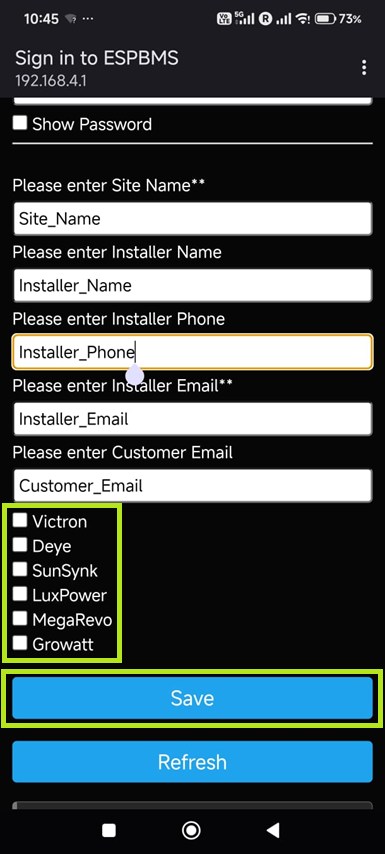
10. Select the Inverter type for CAN communication. If a selection is not made, CAN communication is not enabled. (See image below)
11. Save the configuration. (See image below)
12. If the user is not yet registered on the ESPBMS website. Go to the URL espbms.co.za and click on login and use the register option.
13. An email will be sent to confirm registration.
14. Once the registered email is confirmed and matched to an email address used on an ESPBMS device configuration. The device dashboard will be created, and the user can access the data.
15. Installers will have access to the data for all the devices using the same email address if this is not a generic email account i.e. Gmail, Hotmail, outlook etc.
16. Customer emails can be generic email services however the customer user will have access that is restricted to the single dashboard for the customer email captured on the device.